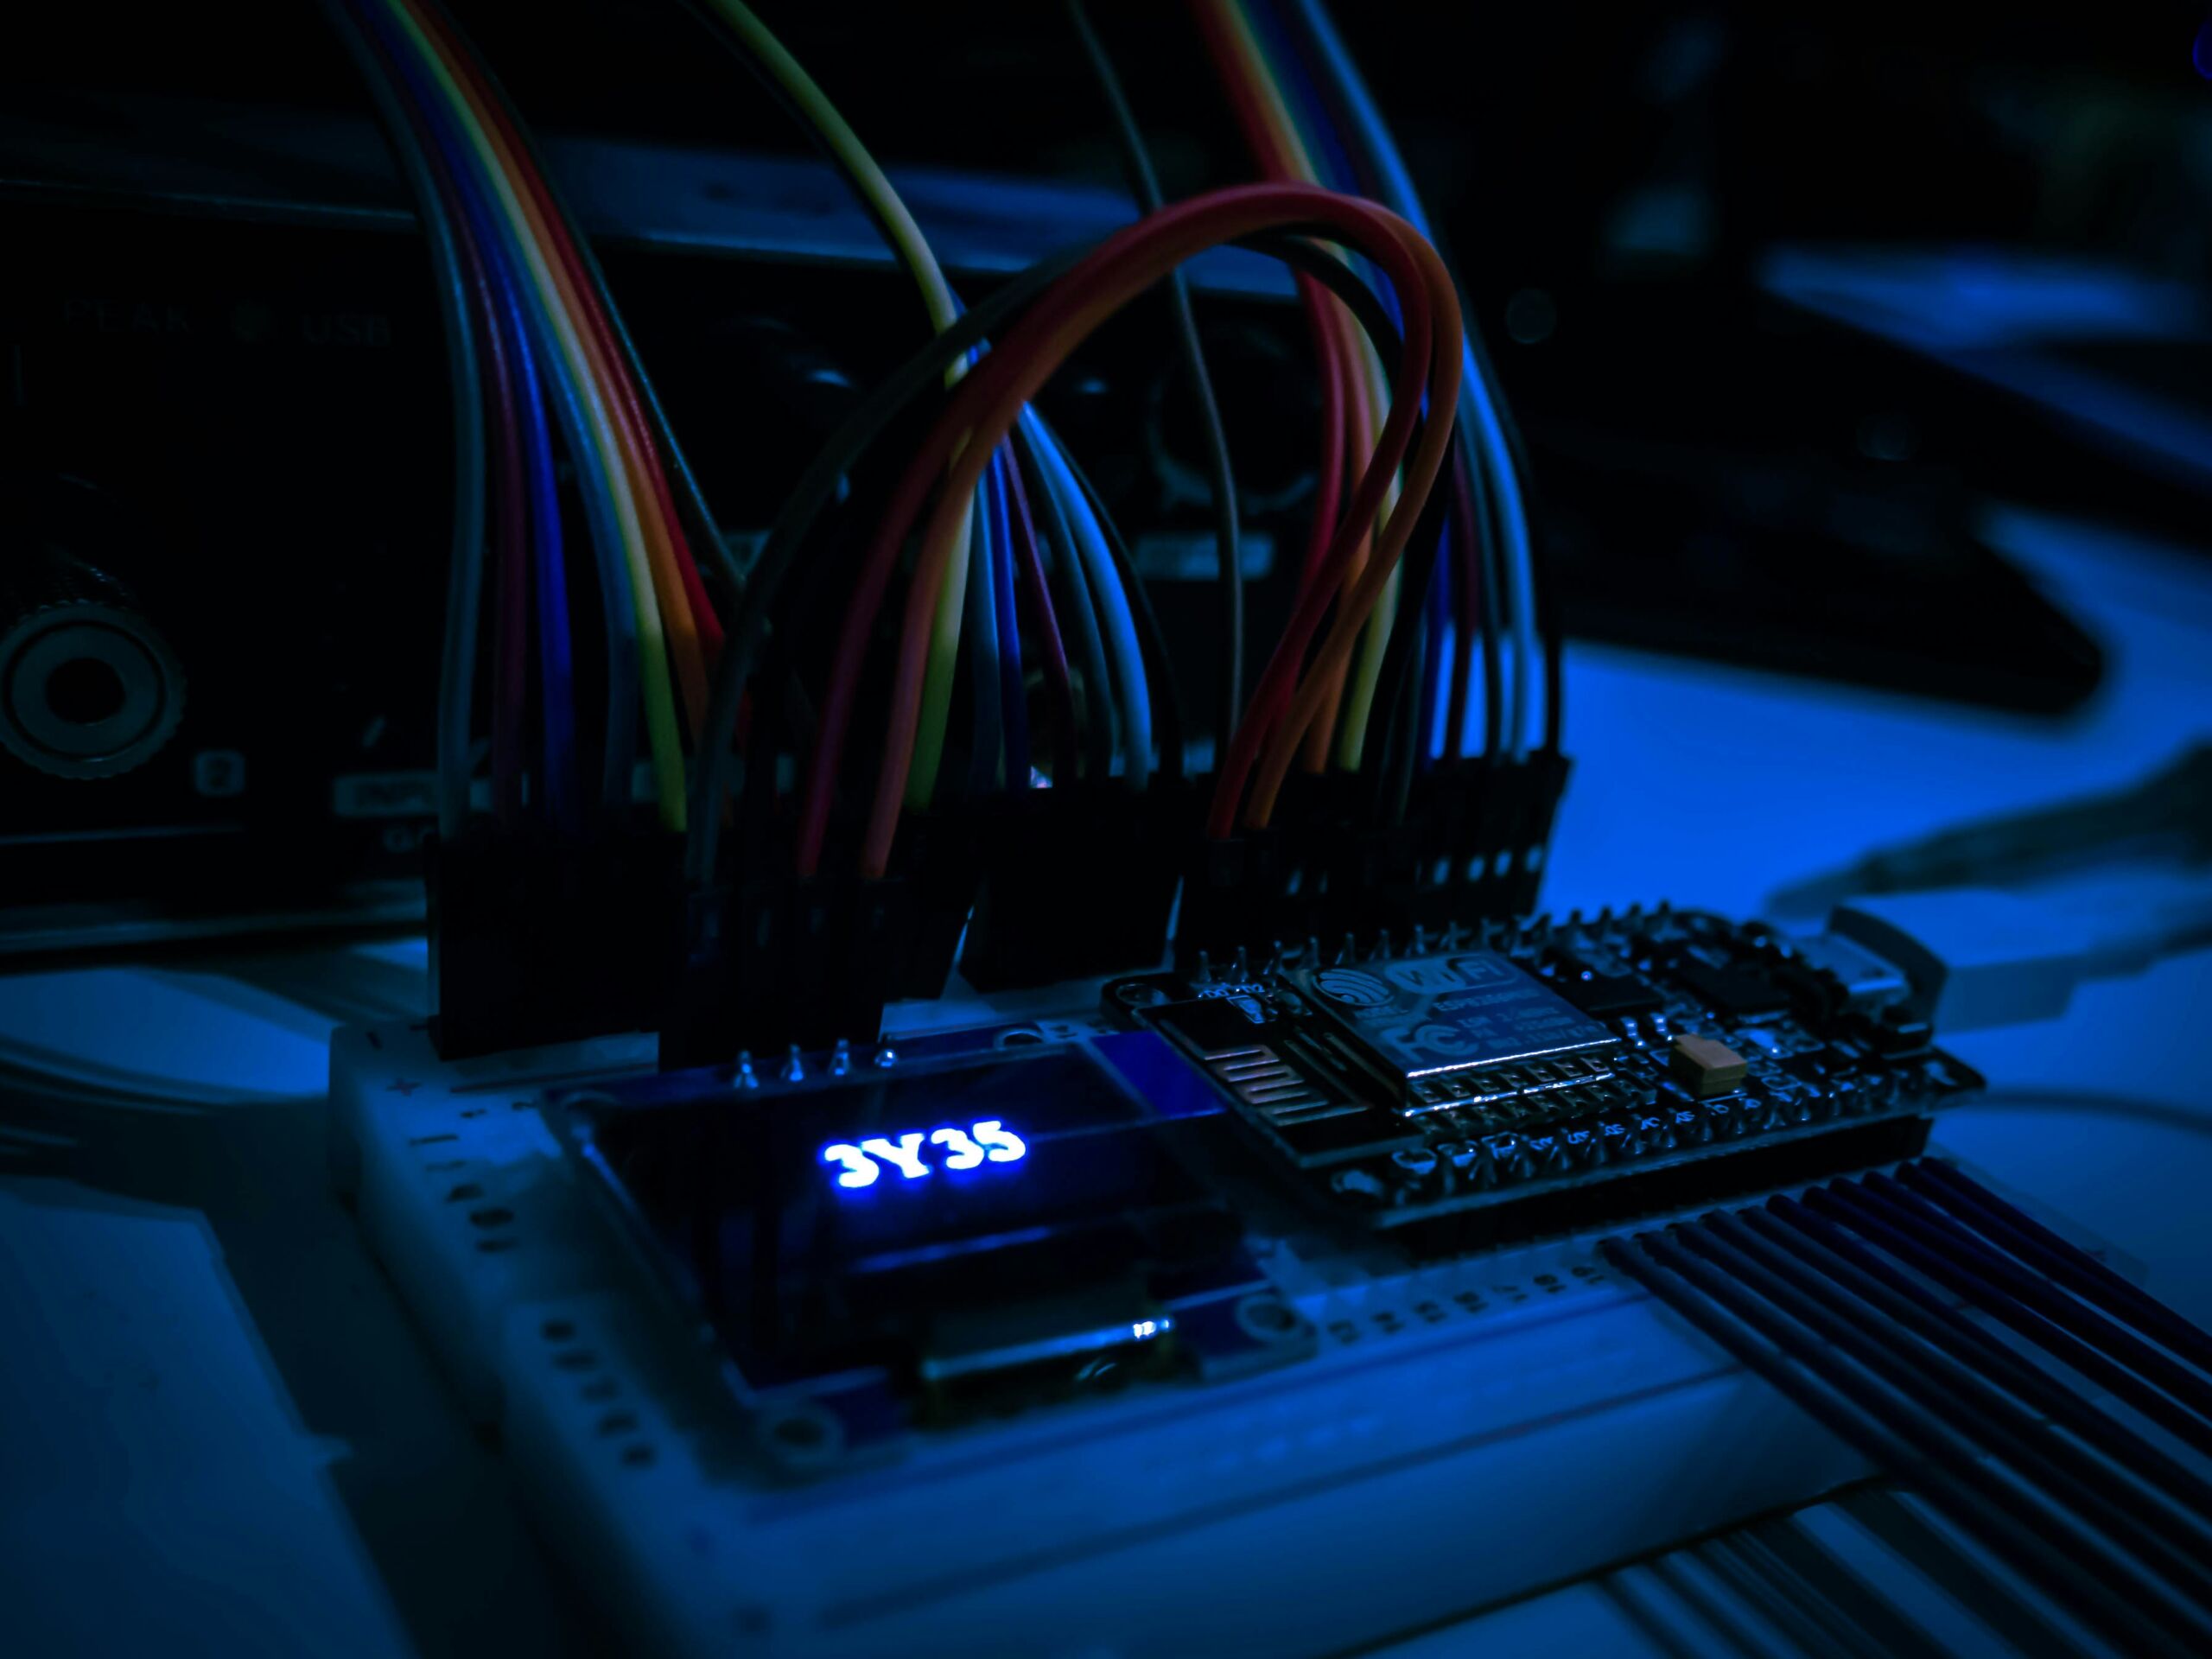
Controllable LED Harness
Building Custom 3D-Printed RGB & Matrix Panel Harnesses for Darklands
So, I’ve been working on CAD modeling and 3D printing two custom harnesses for Darklands, each equipped with some serious tech bling—one features RGB light rings, while the other has a matrix panel. Of course, because I can’t leave things simple, I also made them remotely controllable via my website, phone, and two lighting controllers (SP801 & SP107).
Disclaimer: This post is a work in progress. I’ll be uploading all CAD models and additional pictures soon!
Step 1: Designing the Harnesses in CAD
I started by modeling the harnesses using Fusion 360. The design process involved:
- Creating a comfortable yet futuristic aesthetic that fits the Darklands vibe.
- Ensuring space for LED rings and the matrix panel without making the harness too bulky.
- Designing modular parts so I can easily swap out components if needed.
Once the design was finalized, I sent it to my 3D printer using PETG for durability and flexibility.
Step 2: Adding RGB Light Rings
For the first harness, I integrated WS2812B RGB light rings. These are individually addressable LEDs that allow full control over brightness, color, and effects. To make them work:
- Wired the LED rings to an SP801 LED controller, which allows for wireless control.
- Connected it to my phone via Bluetooth, enabling effect customization.
- Integrated control with my website, so I can trigger presets remotely.
Step 3: Adding a Matrix Panel
The second harness is even crazier—it features an LED matrix panel for scrolling text and animations. This required:
- Using an SP107E LED controller to handle the matrix display.
- Connecting it to my phone for real-time text and effect updates.
- Linking it to my website, so I can update visuals dynamically.
Step 4: Web & Phone Integration
To control both harnesses from anywhere, I set up a Node.js web server that sends commands to the controllers. The setup includes:
- A simple web app where I can select effects, colors, and animations.
- Bluetooth relay through my phone to communicate with the LED controllers.
- Preset modes, so I can switch styles on the fly depending on the event mood.
What’s Next?
- Uploading all CAD files, CODE and tools used. for anyone interested in building their own.
- Sharing more pictures of the harnesses in action.
- Fine-tuning animations and effects for the best visual impact.
This project is still evolving, and I’m excited to see how it turns out at Darklands. Stay tuned for updates!


